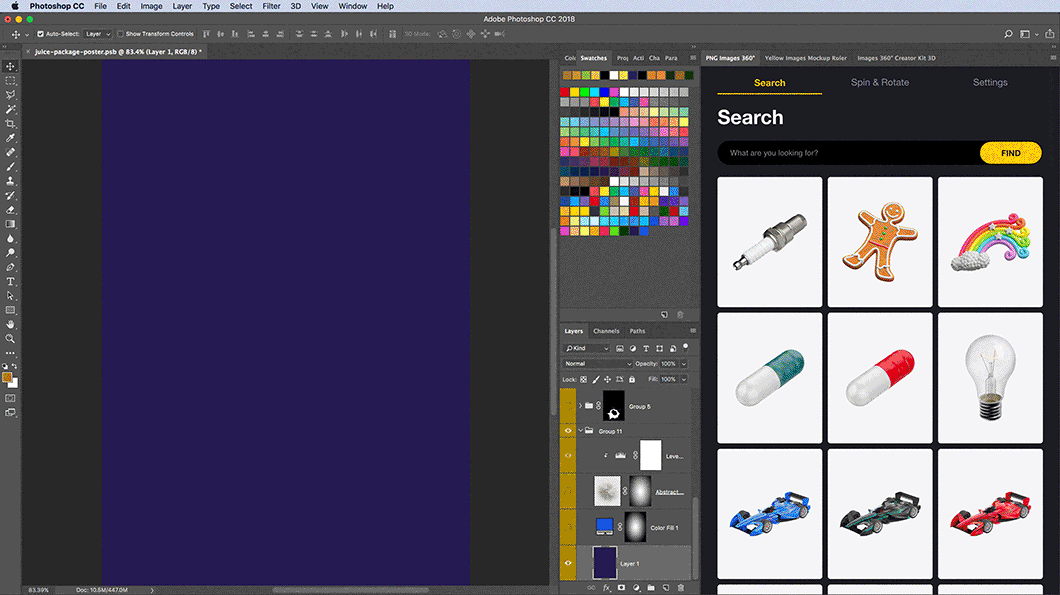
PNG Images
Mix It Up!
Watch the full timelapse video to see how we combined Object Mockups with PNG Images to create this dynamic juice pack poster. We hope you like it! If you want us to create more tutorials and videos on how to use Yellow Images products - just contact us and share your feedback.
In this tutorial, we’re showing how effortlessly you can combine a hyper-realistic packaging mockup and high-quality images in one artwork without spending extra time on research. We will use one of our Object Mockups to show off the juice packaging and spinnable PNG Images to demonstrate the ingredients.
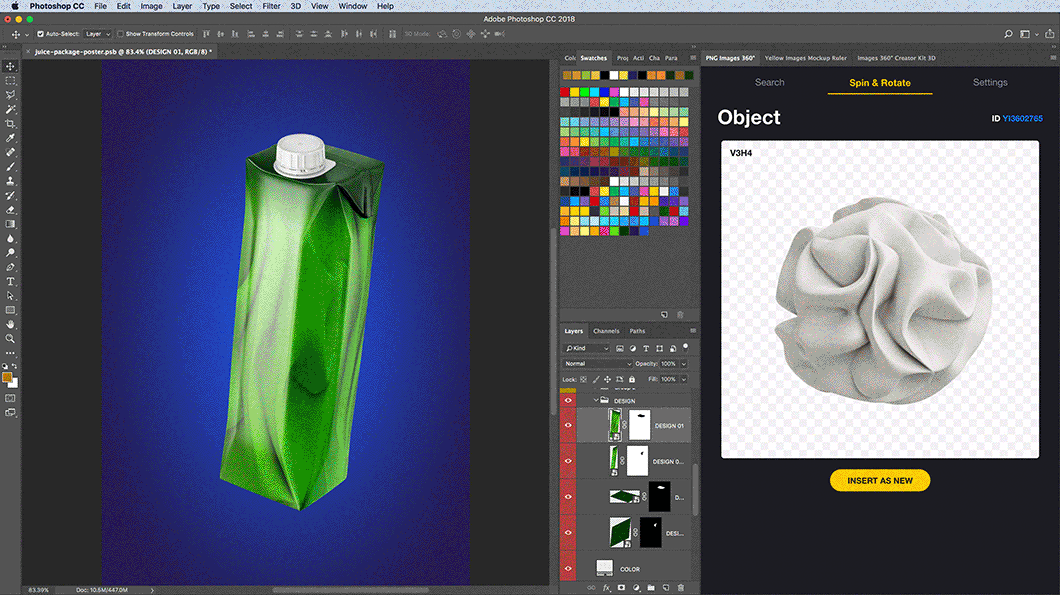
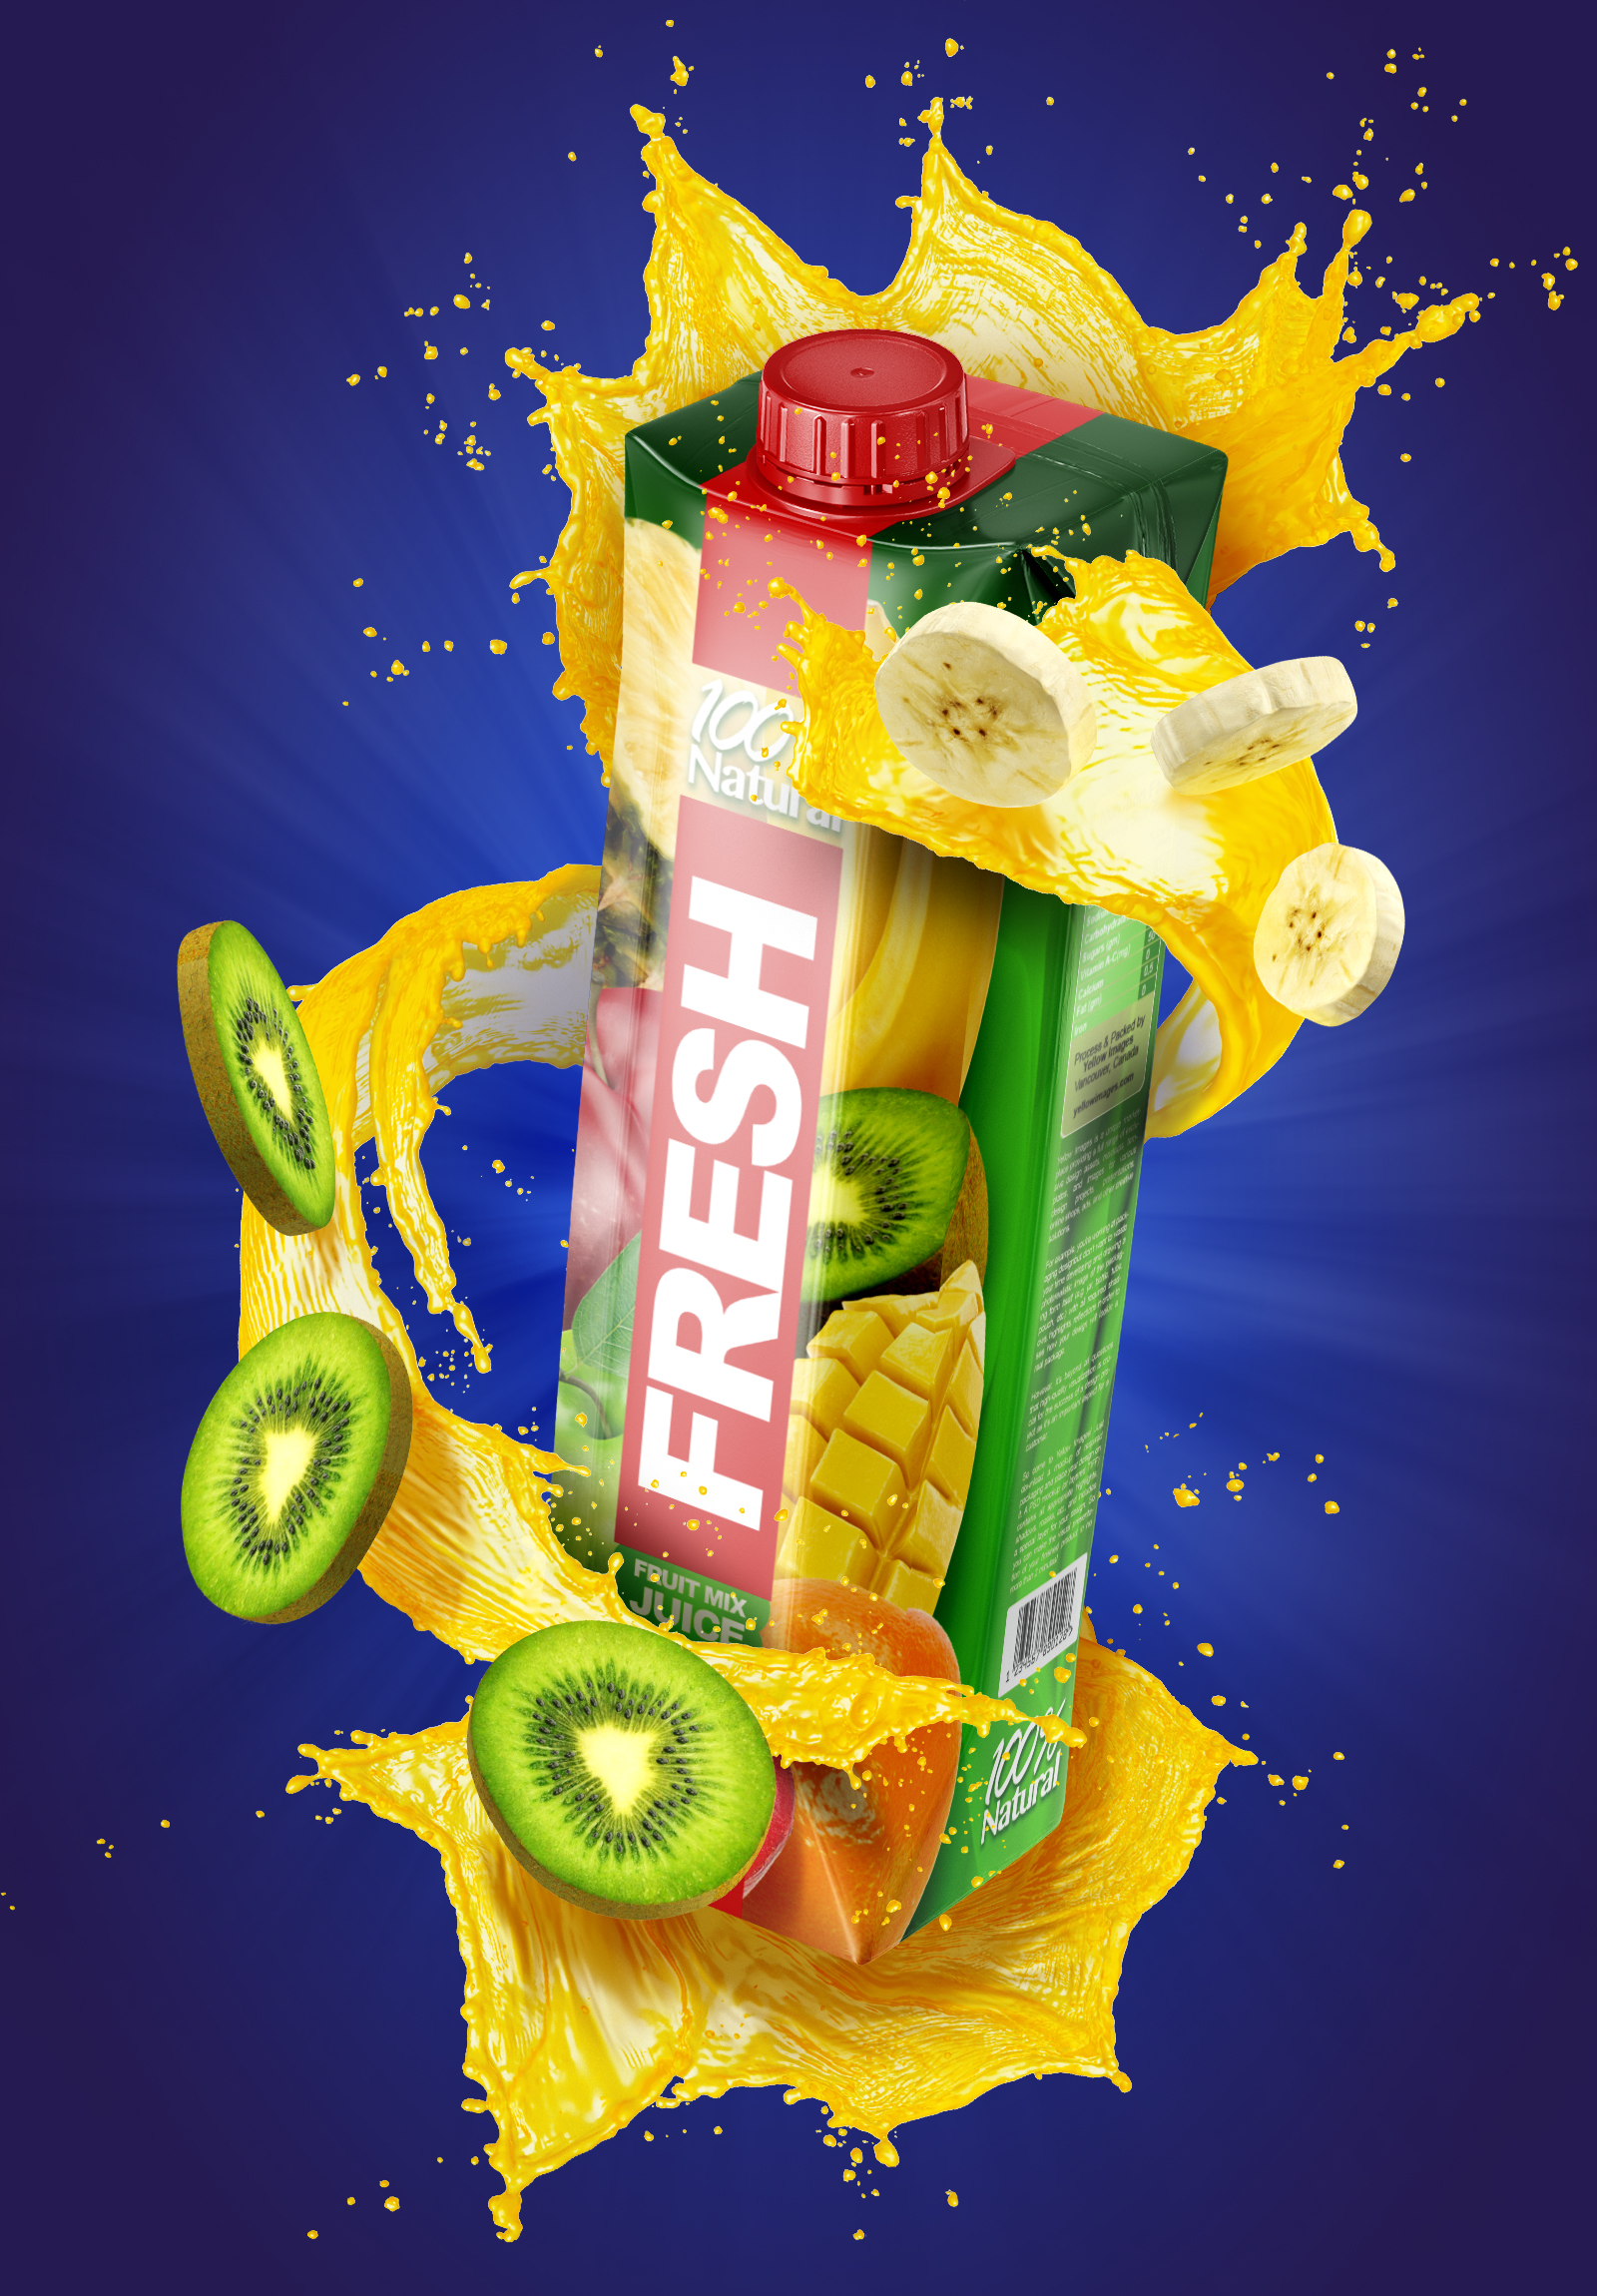
We’re going to create a juice pack poster with fruit splashes, so first of all, we need a packaging itself. We’ve picked a Glossy Juice Pack with Screw Cap Mockup and placed it in the middle of the canvas. We have also switched off a drop shadow and filled the background with the dark blue gradient upfront.
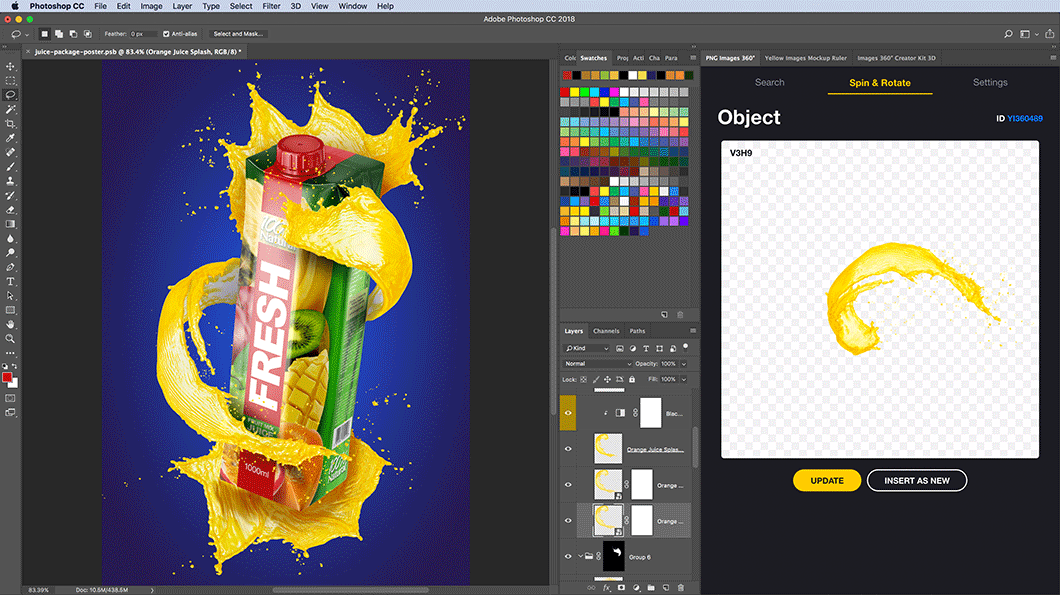
Next, we’re filling up the juice pack with the design. We use a wavy abstract shape from PNG Images, elongate it with Free Transform and place it over the bright green color with the Multiply blending mode. The design reflects on the mockup instantly! Thanks to magical smart layers.
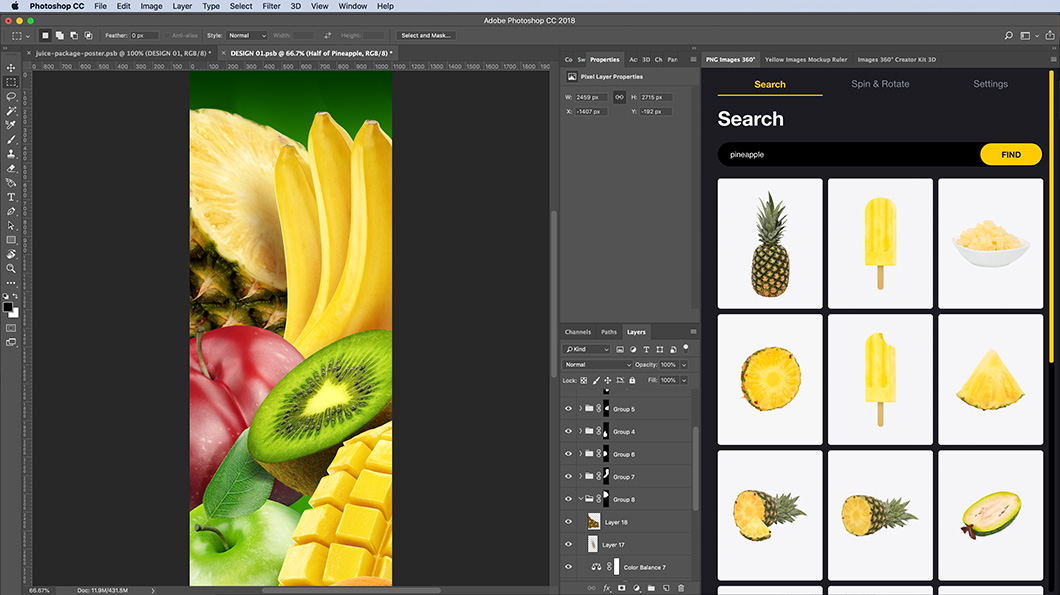
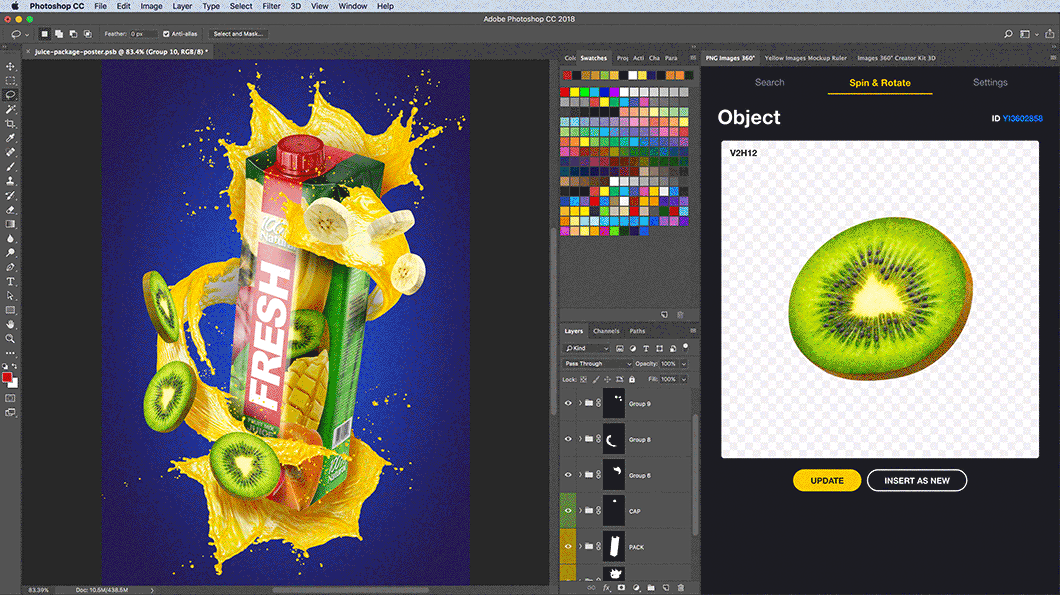
This wavy silky texture makes a very nice background. Let’s fill it up with fruits! We want to create a mixed juice, so we need a lot of ingredients: delicious passionfruit, juicy orange, rich mango, apple, kiwi, red plum, pineapple and bananas. There’re so many fruits, that we really need to focus on keeping the composition neat.
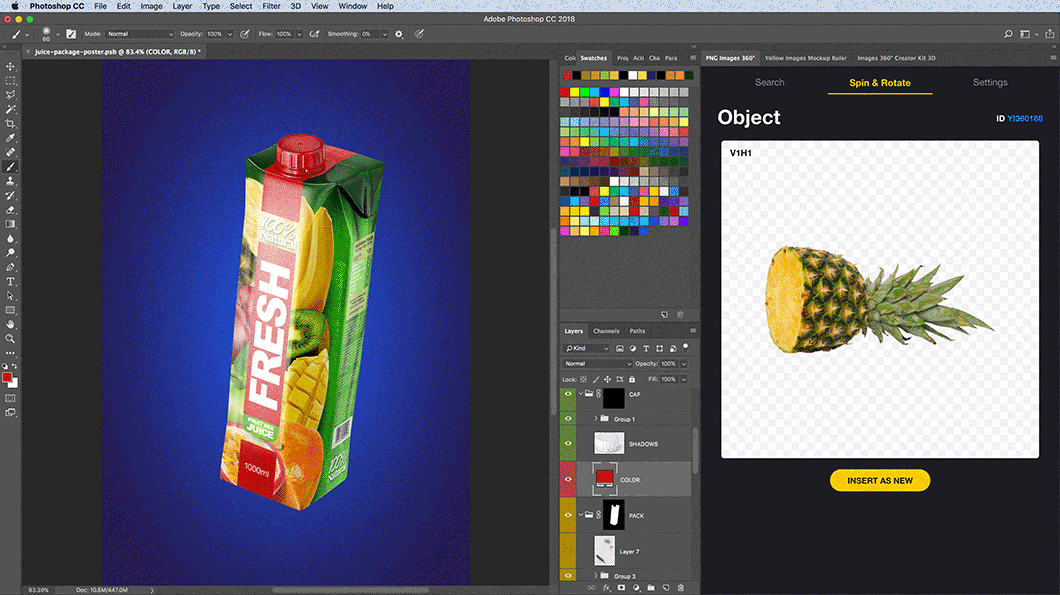
The fruits look amazing. We switch to the Quality mode and finalize the composition by adding the drop shadows and the highlights. Once we’re happy with it, we can paint the plastic cap and add a pre-made labeling to our mockup.
Don’t forget that we’ve created this design directly on the smart layers of our juice pack mockup. Yellow Images Object Mockups provide really great opportunities for editing and creativity. It’s so easy to paint each part of the mockup and apply your design to them! Smart layers can help us in seconds! We keep the layer structure very clear and intuitive, so literally anyone can do that.
Adding splashes. We love to use them to bring dynamism to the picture. It’s not a coincidence the background is blue. Blue and yellow are complementary colors, they highlight each other. It can be a very nice trick if you plan to add brightness to your picture. We used the same blue for shading to connect the splashes with the background.
We have both photos and 3D renderings in our PNG Images gallery. We handpick every object, so they all look beautiful and ultra-realistic. Mix them up and use the immense range of Photoshop tools to improve, enhance and polish your artwork. In this image, we combine 3D render based splashes and fruit slices with some photographed fruits on the juice pack label.
TIP: Fruits will look more appealing if you enhance the highlights on them. We usually use Black and White adjustment layer to pull up the highlights and colors in general. First, copy the layer with the object you want to work with and apply Screen blending mode on it. Then, use Black and White adjustment layer, which applies to the copied layer via Clipping Mask (Shift+Alt+G), to darken the shadows and midtones. If you want to reduce the influence of this adjustment layer, just limit the desired area with the mask.
Let’s add a little more depth to the background. We place another abstract shape from PNG Images gallery, apply the Radial Blur filter for a motion effect and select the most suitable layer blending mode. And that’s it! This vibrant packaging presentation has so many elements and, guess what, we found them all on Yellow Images!
Time is the most precious resource in graphic design, everyone knows that. Designers need to work with really fast turnarounds and produce effective presentations each and every time. Communicating with clients, balancing between doing and thinking, there are so many things we need to be coping with actually! And there’s no doubt investigation and research for good materials consume a lot of our time too! Yellow Images can help you with this.
At our marketplace, you can find everything to create perfect visuals for your projects. Create, improvise, save your time! Focus on your Ideas, we will handle the rest.
Get started with Yellow Ticket right now
Subscribe to get 90% off on the entire collection!
Get 90% off Browse Collection