Object Mockups
Watch our step by step voice-over tutorial
We have explained the complete process of work with our Object Mockups step by step in this detailed voice-over tutorial. Watch the full video, to discover the advantages of our mockups. We hope you guys like it! If you want us to create more tutorials on how to use Yellow Images products - just contact us and share your feedback.
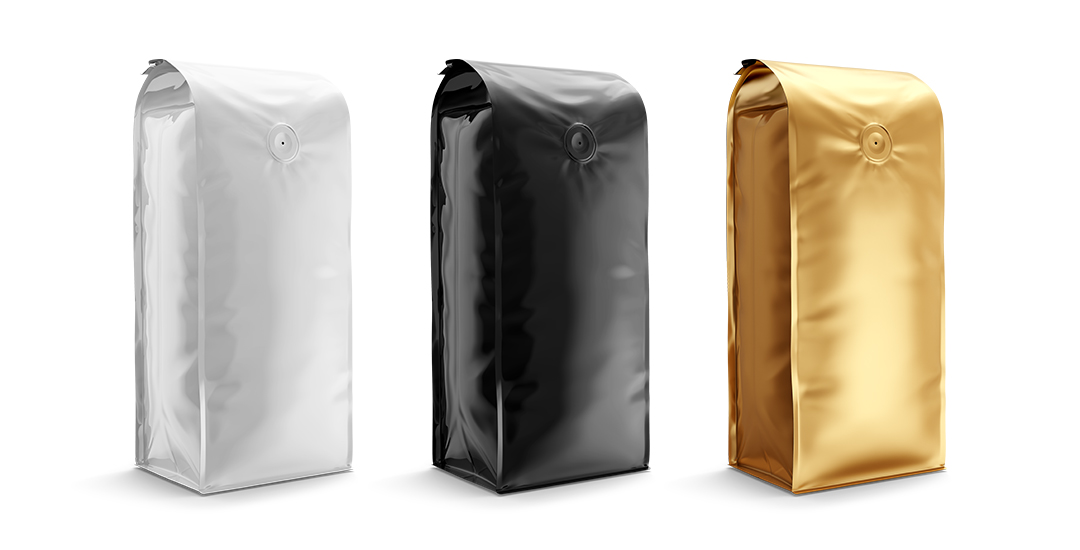
We have picked 16oz Glossy Coffee Bag Mockup as an example, however all our mockups are built the same way, so you don't really need any special skills to work with them to create amazing presentations.
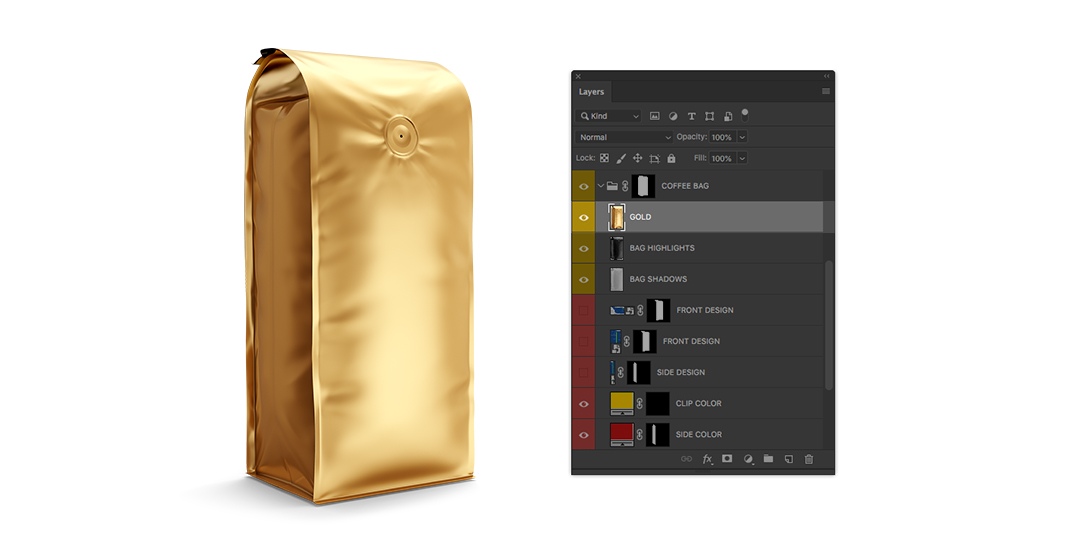
In this Coffee Bag Mockup there is a folder with the smart objects and color layers for the front, top and side parts of the bag. There are also isolated layers for highlights and shadows and a golden layer which can be used to introduce foil details to your design. This mockup file also includes the drop shadow, blank image and the background. All these elements will help you fulfil an unlimited amount of creative solutions and attractive designs.
Recolor the entire object and every part of it
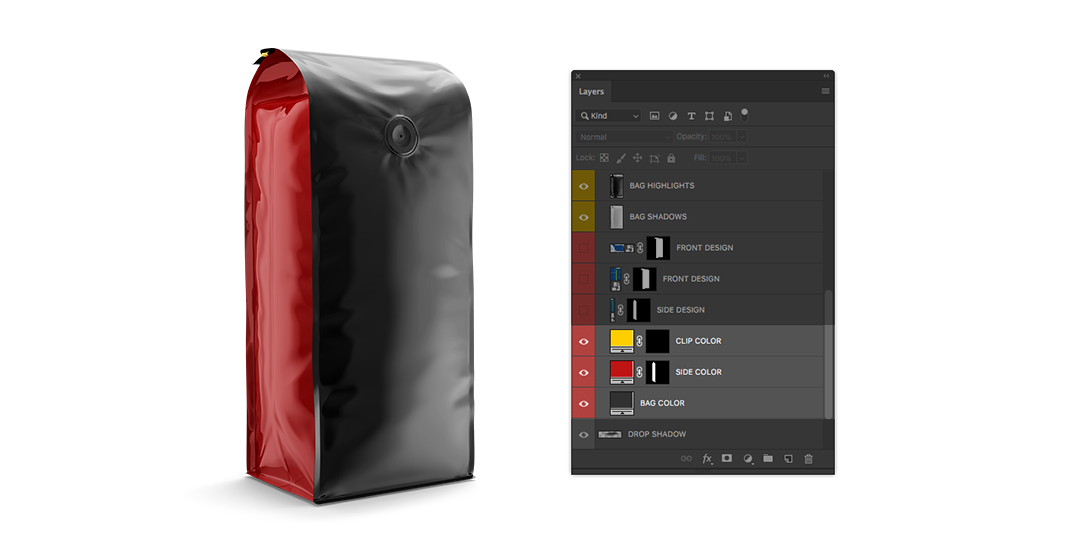
With the help of the special color layers you can change the color of the entire bag and all parts of it separately. To recolor the whole bag doubleclick on the BAG COLOR layer thumbnail to activate the Color Picker and play around with colors to see that all of them look super realistic.
As each part of the mockup can be recolored separately, you can paint a side panel and a clip in a contrasting color. Enable CLIP COLOR and SIDE COLOR layers and click on their thumbnails twice to open Color Picker. You can select the suitable color there or use Swatches, if you have any colors prepped.
Place your design in a couple of clicks
This coffee bag has a slightly rounded shape at the top, that’s why the front panel of this bag is covered with two connected smart layers. It helps to make the design completely embrace the shape of the object. It’s very easy to work with them and the final result is stunning!
To apply your design to the front panel seamlessly, doubleclick on the base FRONT DESIGN layer preview, drag your design into the opened document and save it. Then open the top FRONT DESIGN layer and place both the design and the grid from the base front part over it. Invert this blue grid to differentiate the parts of the design. Finally pick a Move Tool and move the inverted grid down till it disappears behind the edges of the canvas. That’s it! The parts of the design are connected and look very natural. To decorate the side panel, doubleclick on the SIDE DESIGN layer, place your design, save and enjoy the result.

Add gold to your designs
Some of our Object Mockups include additional decorative elements, such as golden layers. If the mockup contains such a layer, we usually indicate it in the description on the mockup product page. Golden layer will help you add photorealistic foil effect to your packaging design. Use adjustment layers to change the shade of gold or to convert it into the silver or bronze!
Personalize highlights and shadows
You can also brighten up or darken the highlights and shadows on the object. Highlights and shadows are isolated into separate layers in Yellow Images mockups, so you can personalize them without any loss of quality. Work with BAG HIGHLIGHTS and BAG SHADOWS. Create ‘Levels’ adjustment layers and keep changing the parameters until you are fully satisfied with the result.
Create professional presentations effortlessly!
You don’t have to worry about taking photos of your products anymore! With our products you will be able to get the high-quality visualization of the finished goods and use these images for your online presentations, visualisations and advertisements.
And if you can’t find the exact mockup you need, we’ll make it for you! Just send us your request. Create attractive presentations, save your time and make your clients happy!